Here's a fun lesson to wrap up the summer-flip flops on a beach towel. My inspiration for this style of painting came from one of my favorite artists,
Tricia Robinson, who I discovered at Seaside Beach in Florida. Her art is so fun and colorful!
This is a great lesson to teach texture, collage and color.
Materials used:
Gel Medium
Acrylic Paint
Scrapbook Papers
12 x 12 Canvas
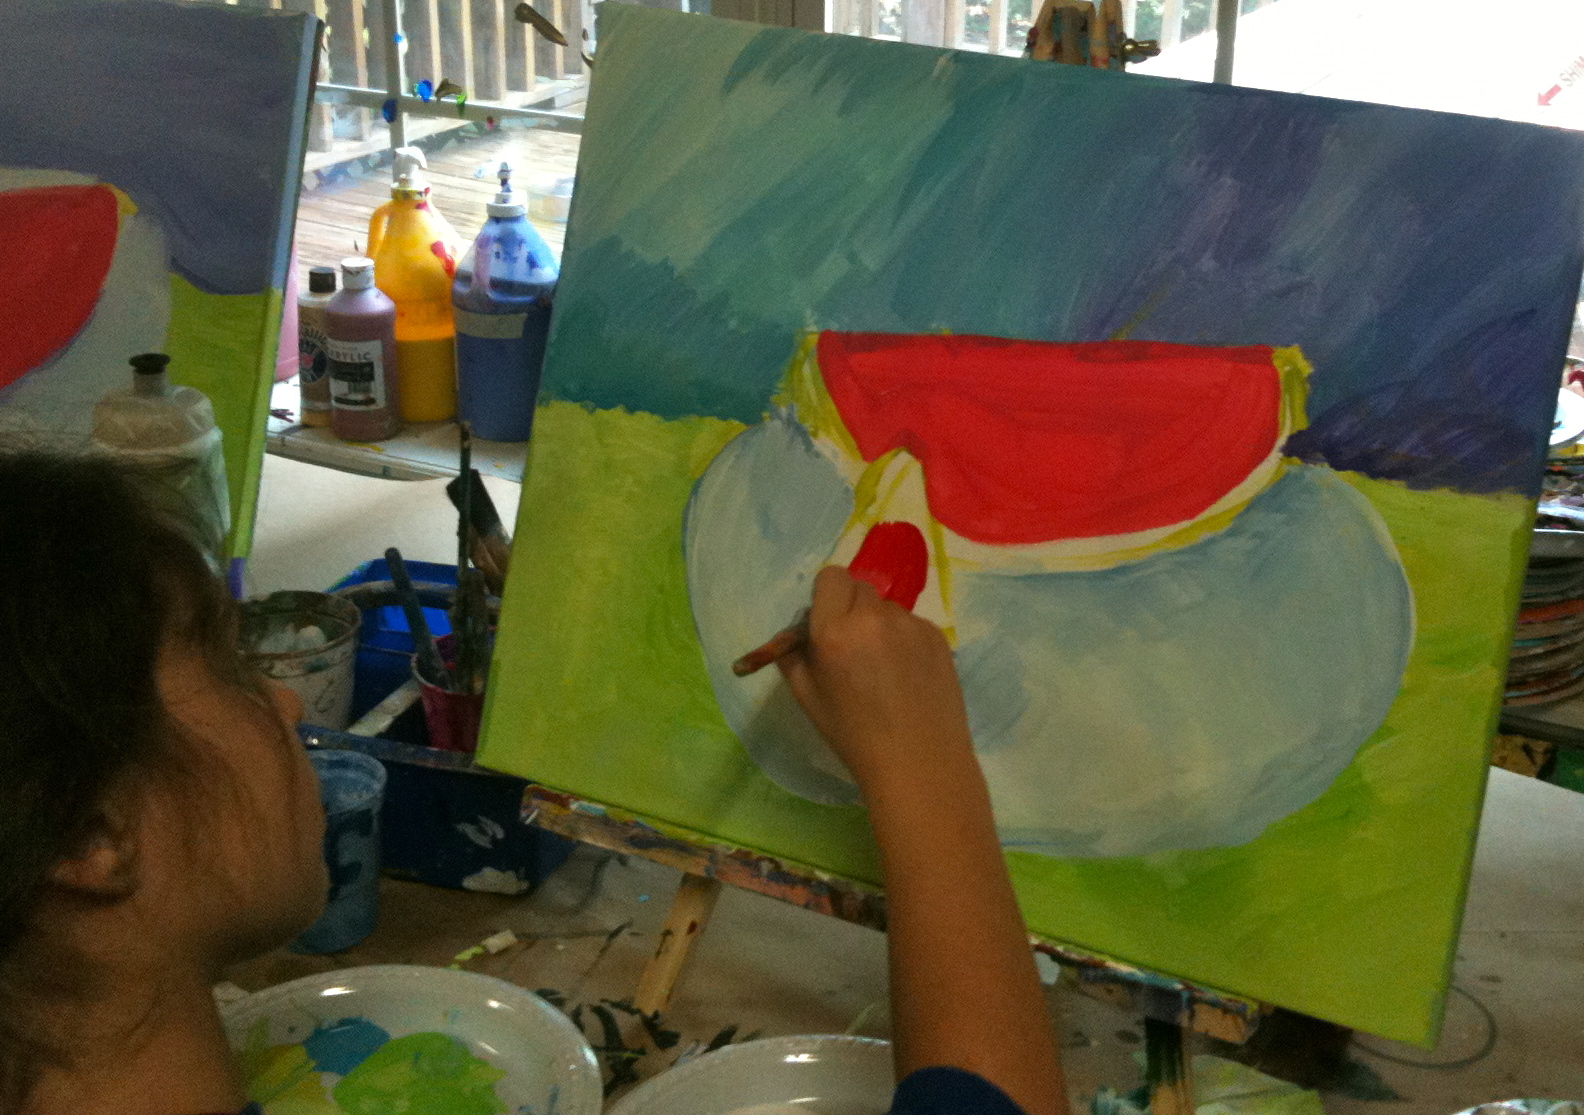
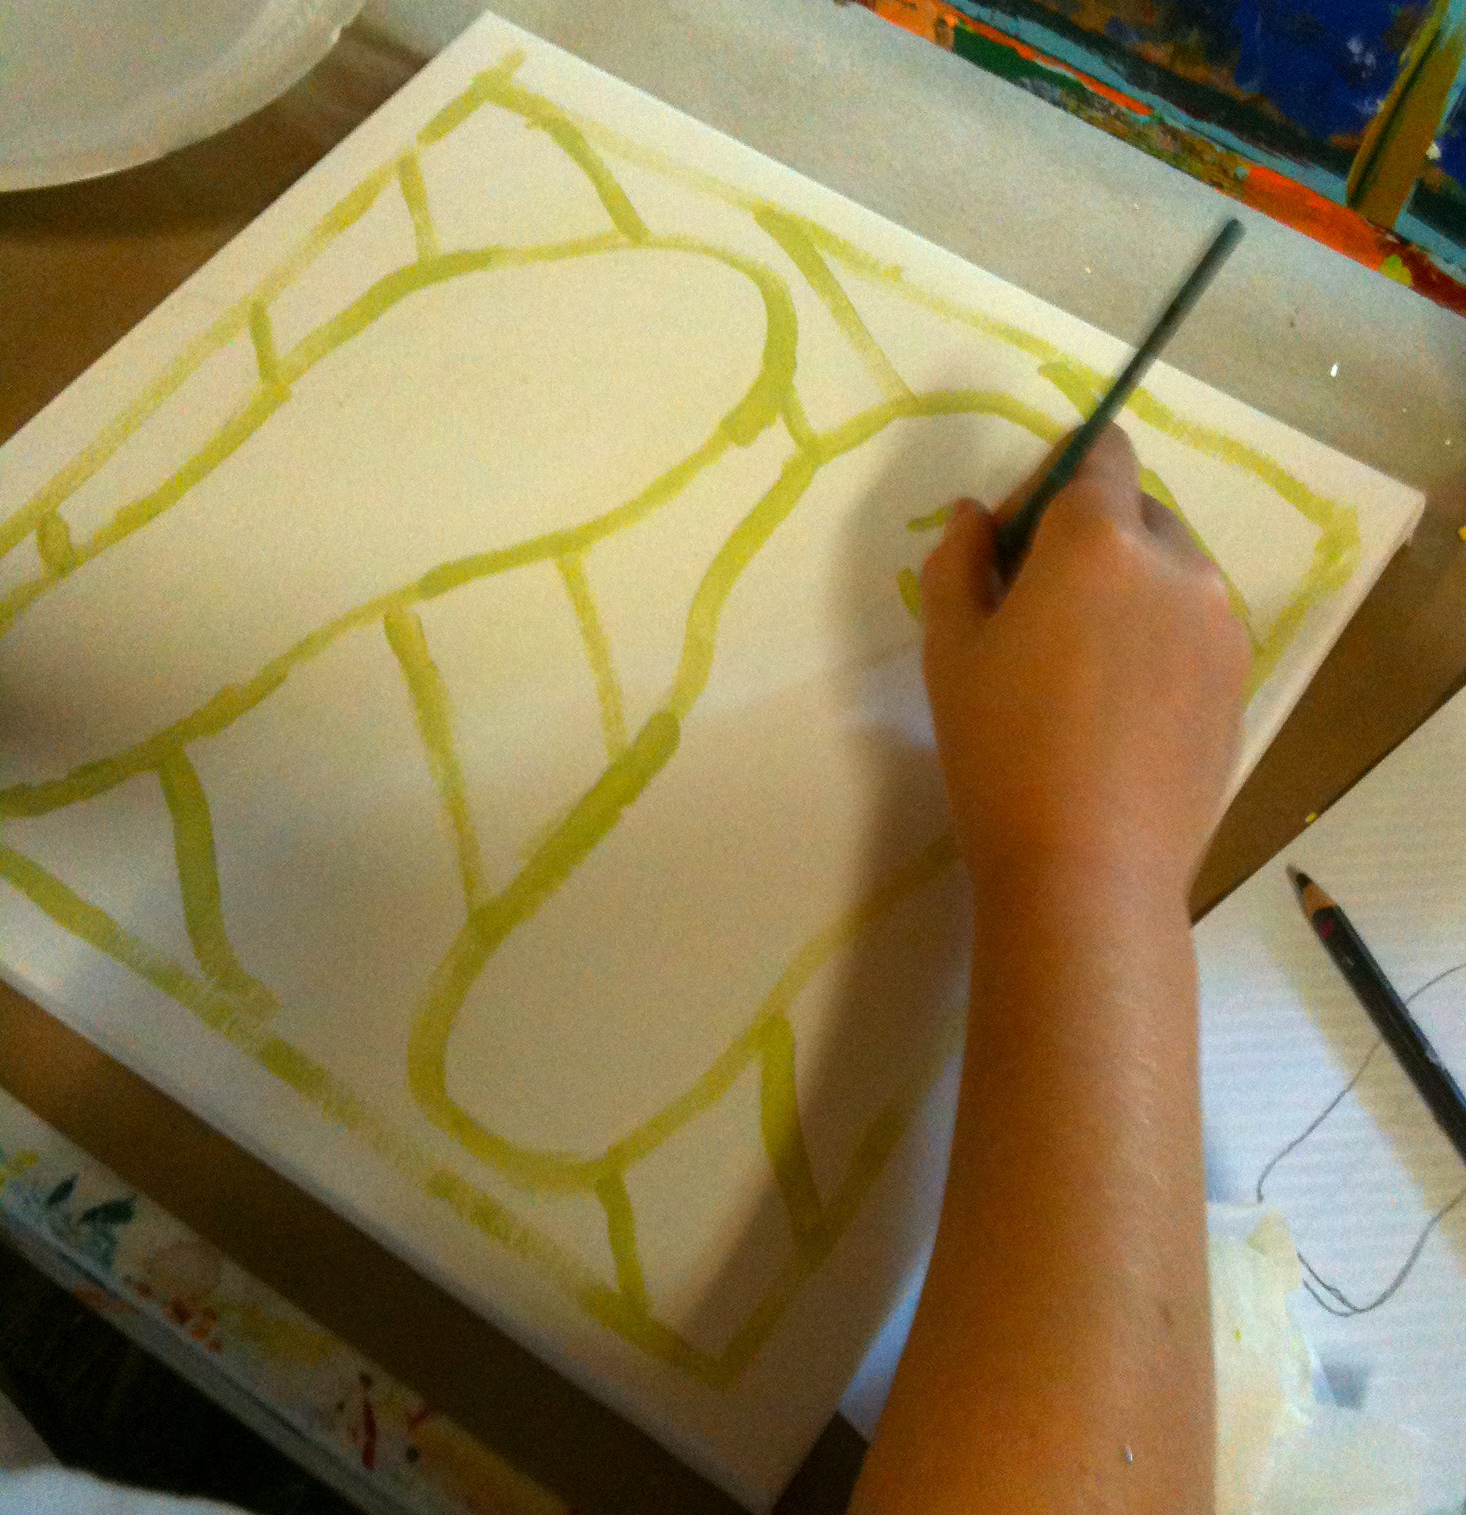
Step One:
I always have students plan and practice their design on paper first.
When design is ready, paint onto canvas in a light color.
I even let them trace their shoe if they wanted since this was not a "drawing" lesson.
I always try to keep it "fun" and not stressful
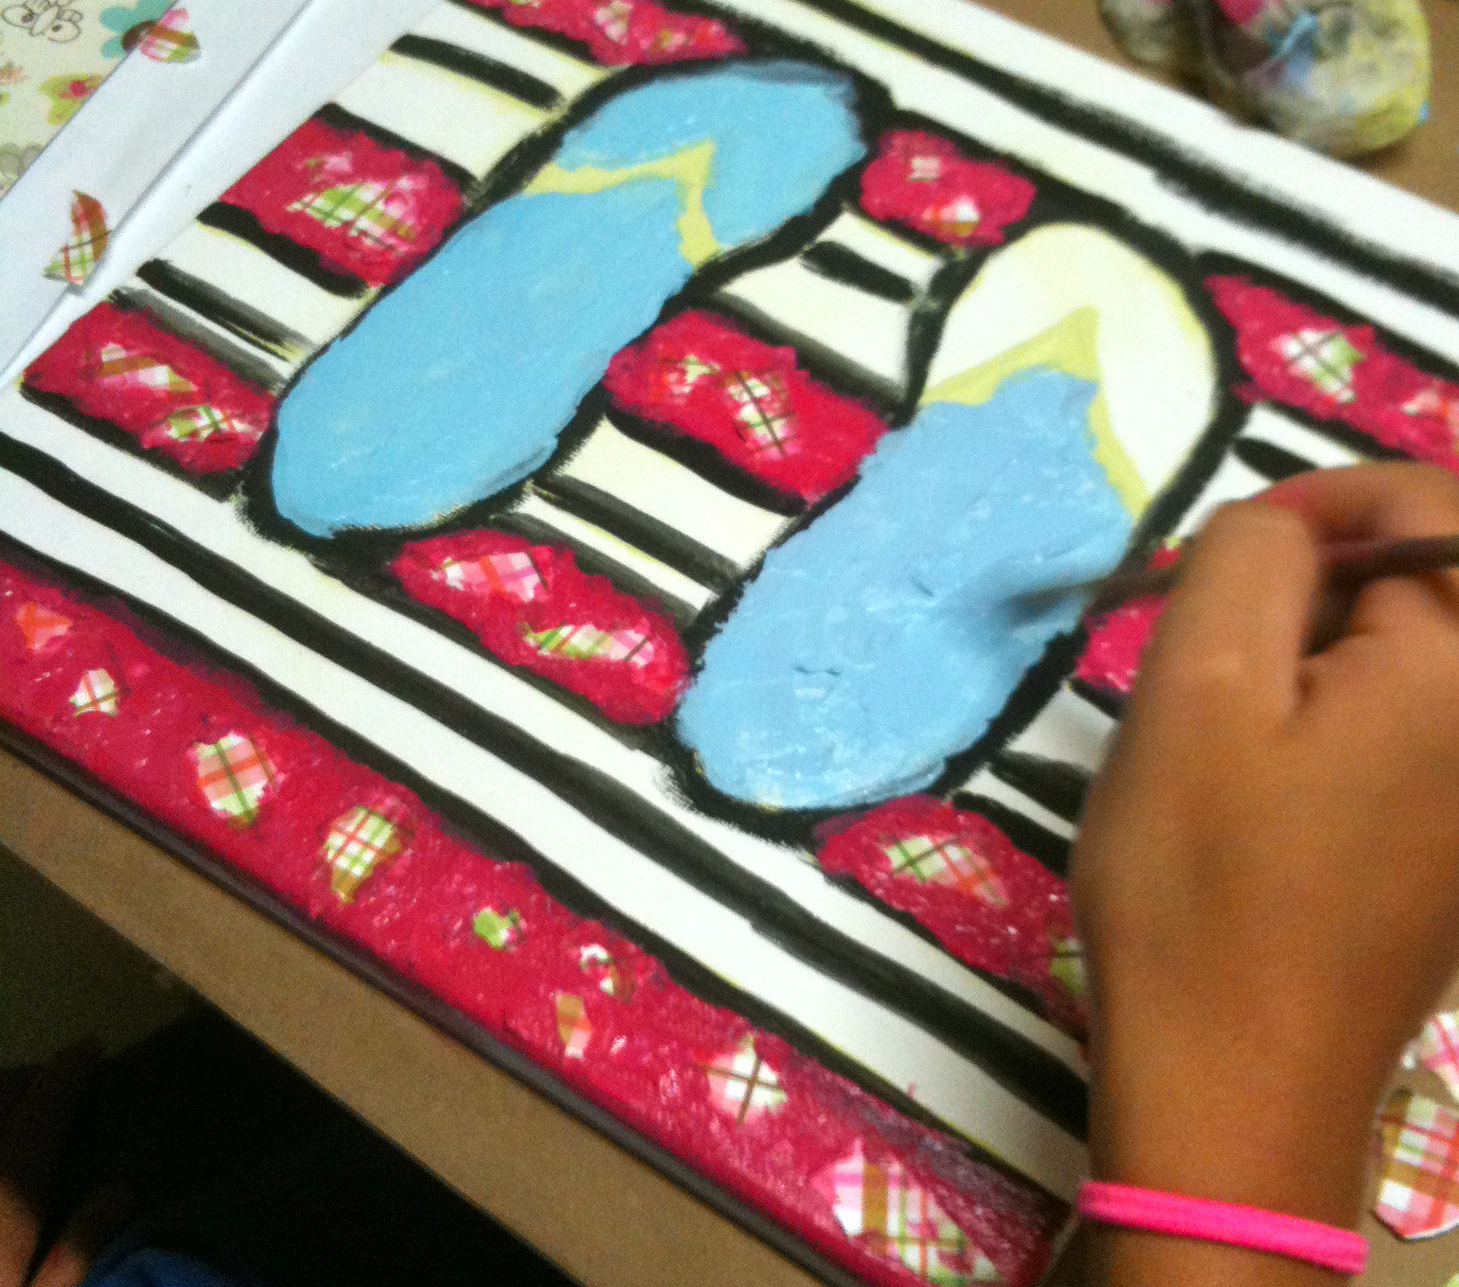
Step Two:
Outline all in black acrylic paint and let dry completely (doesn't take too long in this heat)
Using acrylic paint and gel medium, paint on a thick layer of paint
Tear paper and stick into paint or add texture or words with tools like fork, stamps, etc.
Possibilities are endless-add texture, add words, borders....
Don't forget to paint the edges and touch up your black lines at the end. These paintings took 2-1/2 hours to complete and the ages ranged from 7 to 12 years.
There are a lot of great books out there too for kids and art, and that introduce collage and papers into projects-I'd love to hear your favorites!
 |
| Click picture for more info. |