Wednesday, September 8, 2010

Sun setting on summer


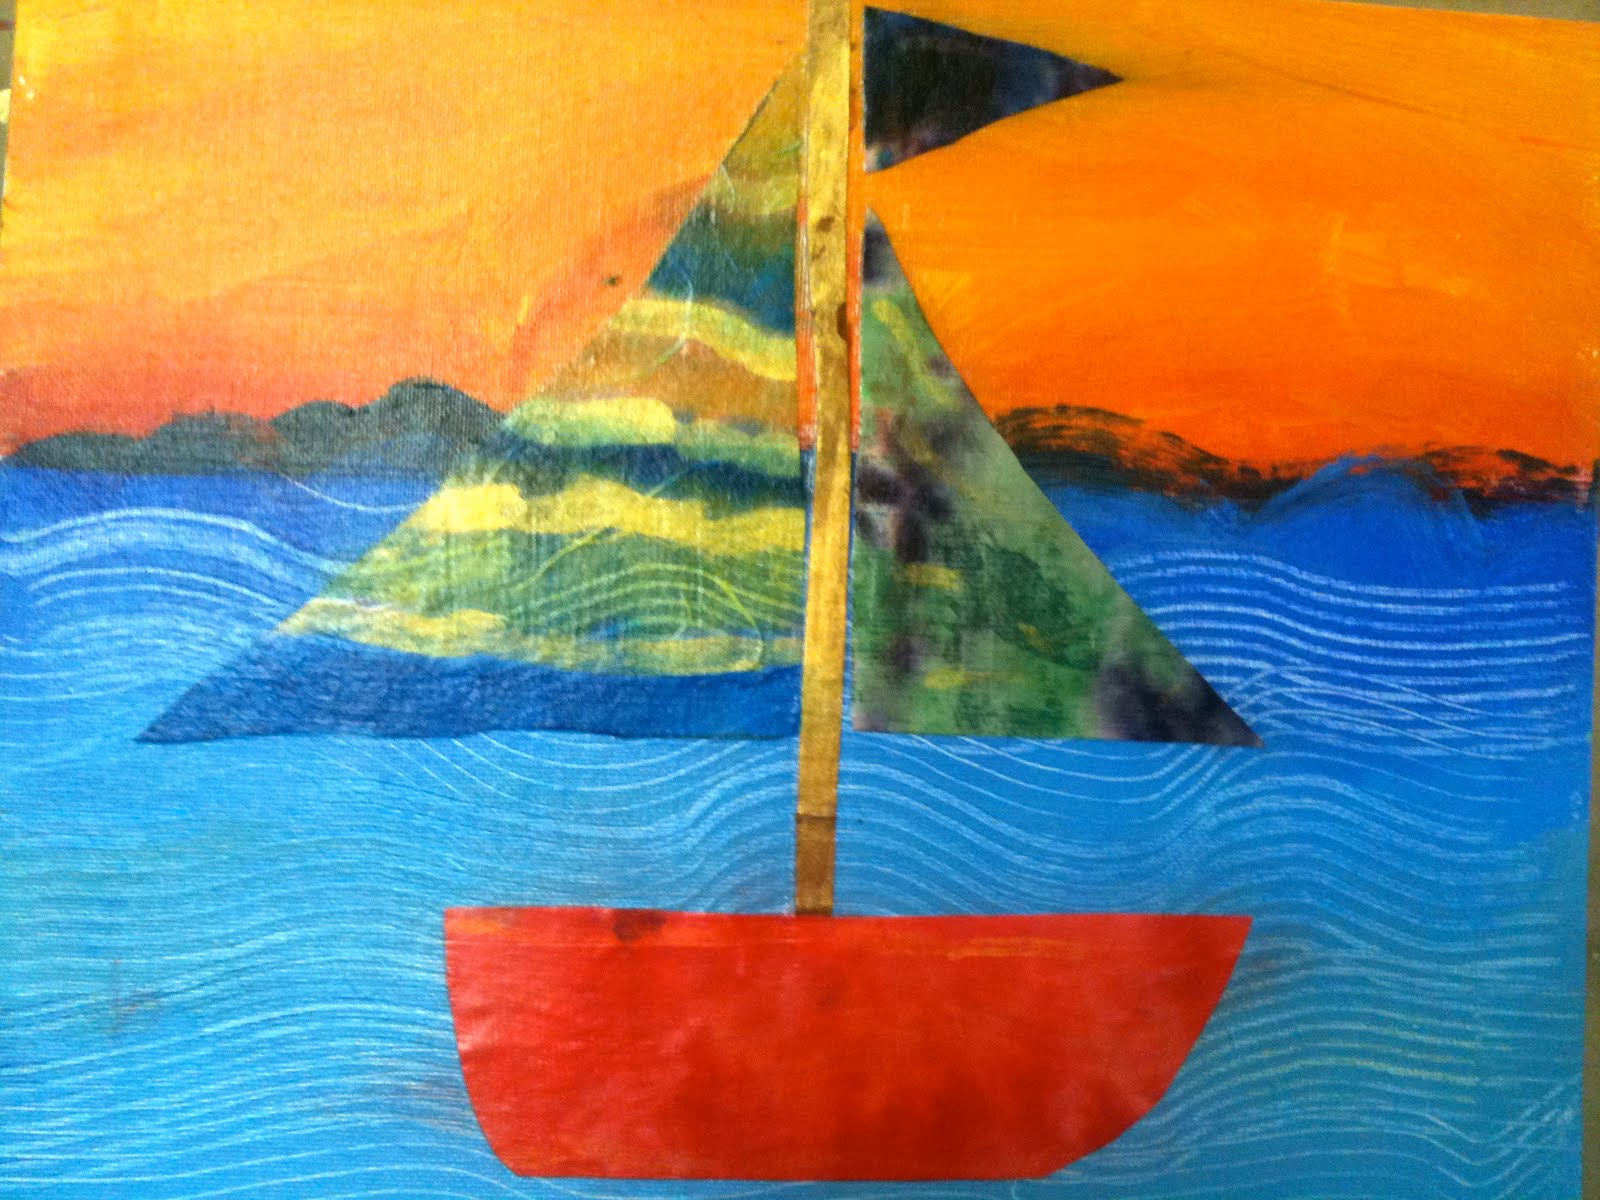
With the cool, crisp air making a surprise visit every now and then, I thought this lesson was a great way to say farewell to summer. I was inspired for this lesson my one of my favorite art lesson girls over at Mary Making. Here's my adaptation to Mary's lesson, Sailboat Collage.


First one hour session: Students used a 9 x 12 canvas board and acrylic paint with texture tool for the background. Lesson objective possibilities are introduction to landscape/horizon line, warm and cool colors, color mixing and texture. I focused mostly on landscapes and warm vs. cool colors. While paint was drying we pulled out some paper in various textures; some handmade, regular, watercolor, etc. We used liquid watercolors to mix and experiment. I put out different sized watercolor brushes, fresh water and spray bottles with a water/rubbing alcohol mix. Students absolutely loved this process.


Second one hour session: Decoupage glue and gold metallic watercolor liquid paint for accents. Students used painted paper and pre-cut stencil shapes and traced their boat parts, added gold highlights, and then after a quick drying time in front of a fan, glued together the collages. Lesson objective possibilities are introduction to watercolor, papers and mediums, collage, fine motor skills. These beautiful masterpieces were all done by 8 year old boys!


Friday, July 2, 2010

Paper Collage Creatures


It's been so long since I've posted, I'm not going to even offer any excuses. But needless to say, we've had a crazy busy summer (in a fun way) and I've spent lots of quality time with my kiddos--and I've got a pretty good tan. Since I've taken a break from teaching this summer, I thought I'd try to catch up on posting some past projects. Here's one I did with a class where I modified the fabric collage project (click here to see) to make it more fun for the younger ones (5-7). I had pre-cut shape templates for several animals and they got to pick their animal and their papers. They did the tracing, cutting, arrangement, gluing and accents.


Covered it all with a good coat of Mod Podge


I tied in a short lesson on using shapes when drawing. We always do a fun exercise with the felt board before we start our project and see what kind of things we can make out of our basic shapes; like houses, trains, trees, etc. Then I show them how simple it is to draw a penguin and a mouse by breaking it down into shapes.


Friday, May 7, 2010

Pet Portraits


It's been awhile since my last post....been busy trying to wrap up my art class semester, celebrating birthday parties, our 15-year anniversary, mother's day teas, field trips and helping with school projects. Whew! I don't know about you, but this time of the year is so busy for me.


I just had to do a post to show off the end of the year project for my advanced classes. These kids are 2nd-4th grade, and most have taken art from me for two or more years. I was so impressed by their finished works. I did allow them to use a cheap projector I have- just to get the basic outline of their pet shape and to block in values. I wanted the lesson to focus more on values and painting instead of drawing. These took three 1-hour classes to complete. They are done in acrylics on a 16 x 20 stretched canvas. I'm taking this summer off so maybe I'll have time to catch up posting the rest of this year's projects. Happy Mother's Day!

Tuesday, April 13, 2010

Earth Day-Recycled Arts/Crafts

In celebration on earth day, I did a post on my other blog that highlights some of my favorite past projects that used recycled items.

Click HERE to view these projects

Friday, April 2, 2010


There are a ton of great lessons out there inspired by artist Wayne Thiebaud. This lesson focuses on texture and form.


We used canvas panels, modeling paste and acrylic paints. Starting off was actually like icing a cake. The kids had a blast working with the modeling paste to create their texture.


We used one hour long session to talk about the artist himself, his style of art, and his color palette. We practiced drawing forms and then sketched out our selected pastries and treats. Lastly we spread on our paste to the canvas panels and drew in our design with palette knives. This needs to dry for about 24 hours before it can be painted. The second one hour session was spent painting our treats! For best results, paint a base coat first or use a primer.


Don't they look delicious?


Friday, March 26, 2010

Some perspective for Spring


We've had some beautiful weather off and on the past month-guess that's just like March. It got me in the mood for a flower lesson. I love Van Gogh and I love sunflowers, so I did a lesson on perspective while drawing a sunflower still life. I also incorporated reviewing warm/cool colors. I was inspired at some other artlesson site for teaching to draw different perspectives on the flowers, but I can't find where it was. If it was you, please post a comment and I'd love to direct others to your lesson too.


I hadn't done the aluminum sheets in one of my classes yet, and they were begging to draw on the "foil" so here it is again. I instructed students on how to draw sunflowers from three different perspectives-front, side and partially turned.


For my advanced class we used chalk pastels on black construction paper. Love how the bright colors turned out. Students were instructed to use cool colors in the background and warm colors in the flowers and vase. As you can see, some took the artistic freedom to do it their way...which is always okay!


Friday, March 12, 2010

A weekend of painting


I know, I've been a little behind on my class postings. I'm still trying to organize my pictures and figure out how to get them off my old computer. In the meantime, I thought you might like to see some of the paintings I did over the weekend at the Barry Thomas oil workshop I attended. Click the title or the picture above and it should take you right to my post.

You also might like....