Showing posts with label recycled. Show all posts

Saturday, February 27, 2016

Making tags, bookmarks and art journal tip ins from recycled materials


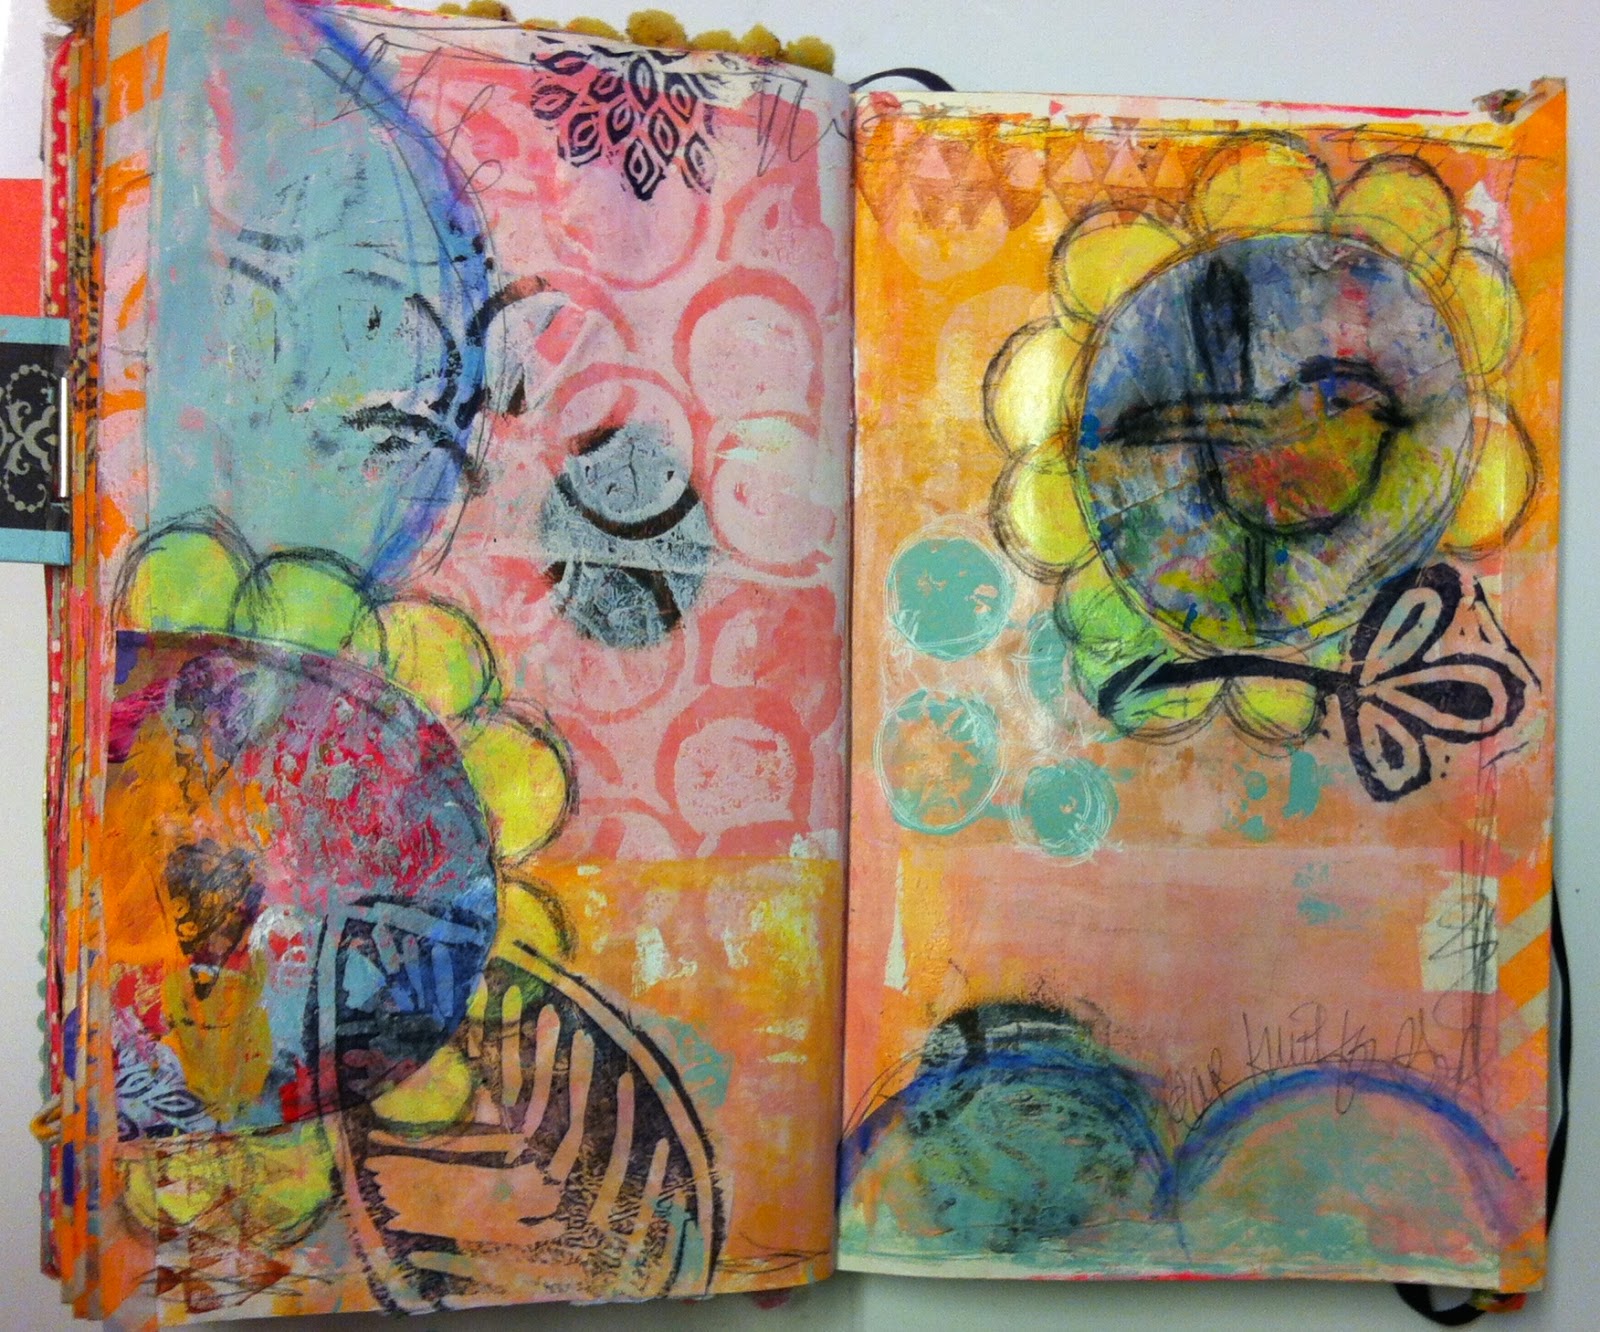
I'm am such a hoarder-anyone out there with me?  I'm starting to even save tags off of clothing items and dig discarded cereal boxes  out of the trash. 


I do think I have a problem!


But why not save them? When all you have to do is add a coat of gesso....


Some paint and ribbon....


And Wa La... cute cute cute little things to use as gift tags, book marks or scrapbooking, Bible journaling and art journaling tip ins. And now you've also recycled something that is trash to most, into something useful and beautiful.


Follow me on Instagram to see my daily projects and artwork.

Would you like some custom tags or bookmarks? Visit my Etsy Shop.


Thursday, March 5, 2015

When art just happens


I always keep a piece of butcher paper covering my work space, and I'm embarrassed to admit, that until I did the Documented Life Challenge this year and was challenged to use my "under paper", I always just threw it away


Today, instead of throwing it way I cut up into pieces and was amazed by the results. I love some of the new color combos that turned up in my scraps-colors I would probably never intentionally put together. Each piece was like it's own individual mini artwork--and I didn't even try! Gotta love that!


I used a couple pieces in my journal entry today. It pushed my a bit out of my comfort zone to add theses to my pretty pastel pages, but I loved the results

Tuesday, February 17, 2015

Mixed Media Hearts


I wanted to share these Jim Dine inspired mixed media hearts made by my fifth graders. They are are colorful, fun and unique--just like the kids who created them. We made these on recycled cardboard tiles, approximately 4 x 6 inches in size.


First we applied a layer of gesso, and then used tempera paint for the heart and background. I instructed the children to use a contrast of warm and cool colors. We spent a day painting papers with tempera paint, texture tools, and foam stamps.


We used our papers to add a collage element to the entire piece. After the paper was added, we added some more color with oil pastels and sharpies. Last, but not least, we sealed with a glossy coat of Modge Podge. 


I'm planning on putting up all 85 of these on a bulletin board in the 5th grade hall. I'll be sure to post pics on Facebook when I get it done. My only regret was that it wasn't done in time to enjoy the entire month of February. There's always next year, right?!


Follow me on Instagram or Facebook to see what I'm up to on a daily basis.

Instagram

Saturday, May 10, 2014

Recycled Journal


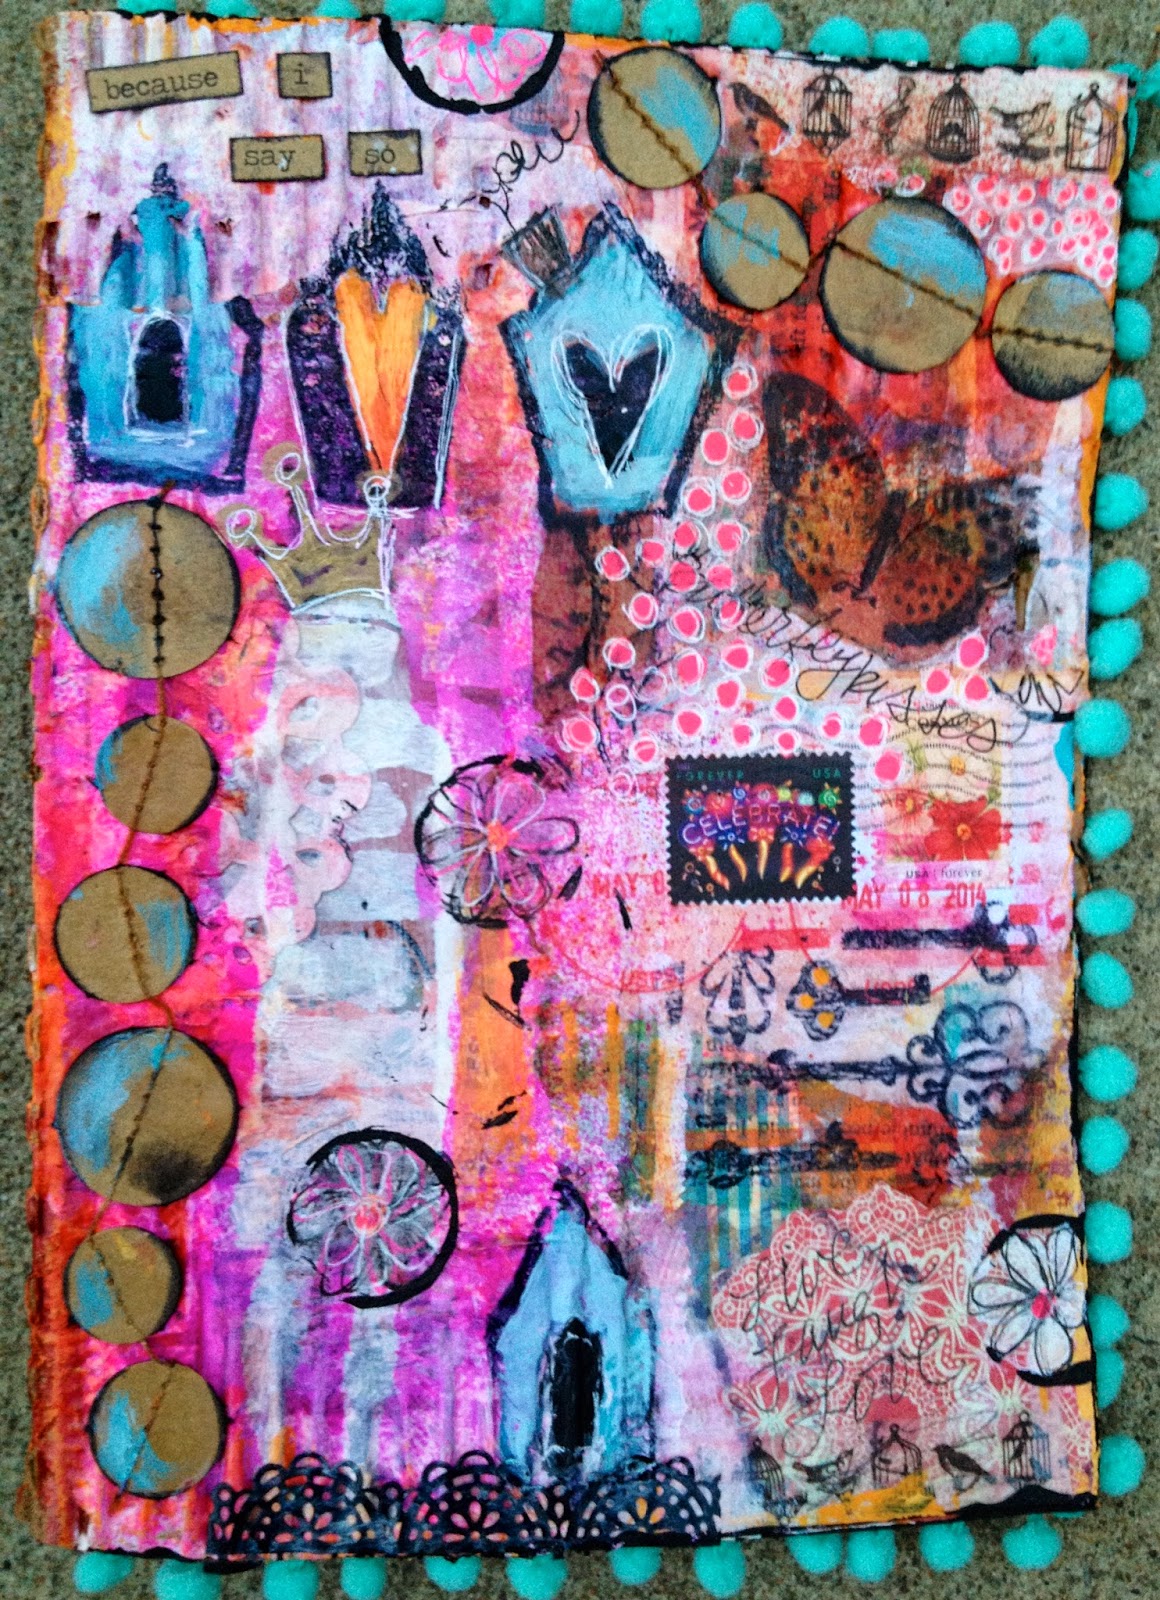
I absolutely love repurposing items that most people throw away, and make them into something beautiful. My husband says I'm a hoarder, but I don't keep everything… I got a shipment of art supplies this week from Amazon, and I couldn't pass up some good corrugated cardboard. I've been brainstorming for journal cover ideas for my upcoming summer journaling workshop, so I decided to make up a sample out of recycled materials. Here's a peak of what I've completed so far, and a brief picture tutorial I what I did. 


I cut the box into two rectangles- approximately 6 x 9.


I love the more distressed look, so I peeled off part of the top to expose some of the corrugation.


If you like the cleaner look, you can skip this step and use the blank side of the board. I prefer the texture and the print to show.


I snagged a couple of these great plaid napkins from a luncheon the other day. Napkins are great for collage, especially if you separate the layers first.


Using matte Mod Podge, I adhered some old paper scraps, old book pages and napkins for my first layer.


Next, I dripped some white acrylic ink over the top.


After several more layers of spray ink, stencils, stamps, wash tape and some cool stamps from a letter I received, I'm loving the way this is turning out. I will show more pictures along the way as I continue to work on it.


Thursday, April 24, 2014

Paper Flowers

Spring is finally here, and I just keep taking pictures! One of my favorite spring blossom in Arkansas is the dogwood. We have a green space behind our house and have a couple dogwoods growing "in the wild" that I can see from my back porch. Flowers are definitely my favorite art inspiration-I think I could paint and draw them all day. Since I've been doing more art journaling lately, than painting, I've made a collection of paper flowers to keep on hand to use for page accents. I wanted to share how simple these are to make.


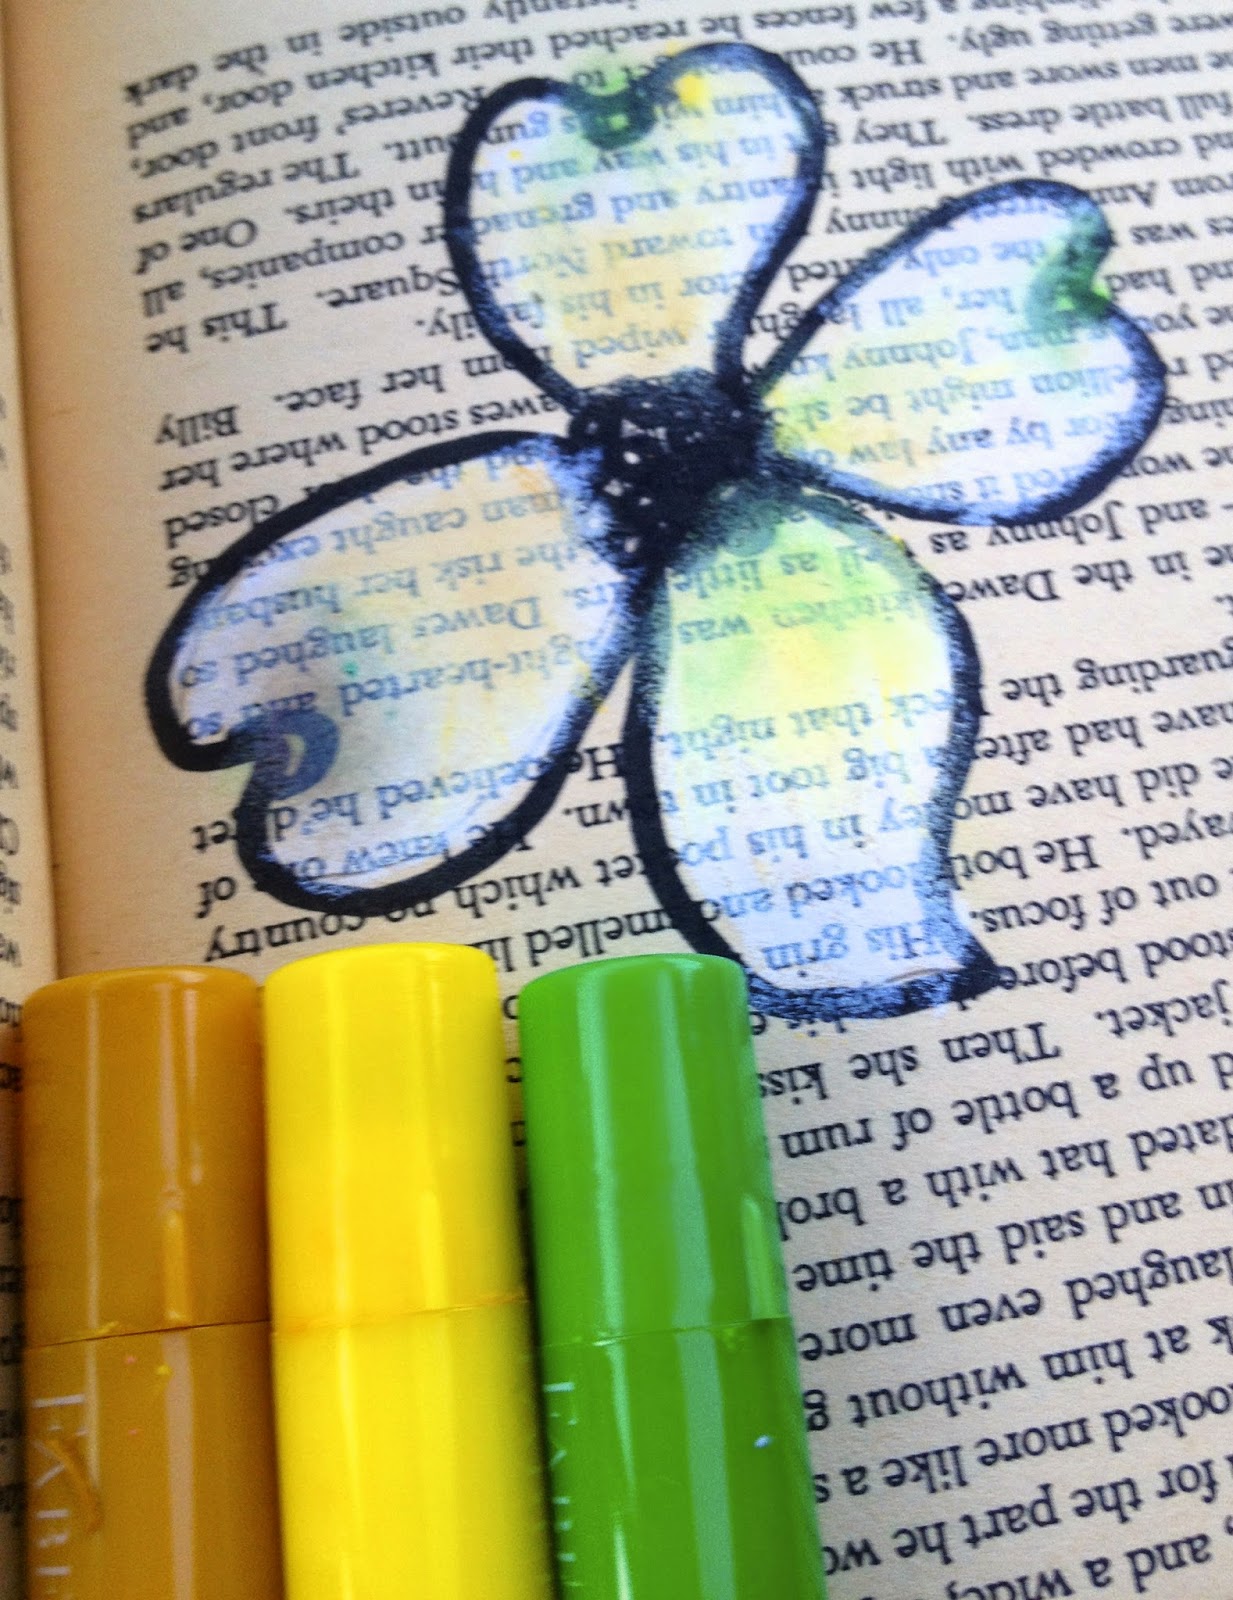
First any old book will do-this book happens to have aged pages, but even a book from the Dollar Store, or an unused one from your self will work. With pencil, draw out your design. In this sample, I used some actual dogwood pictures that I took and found online as my inspiration.


Next I used my Faber-Castell black or brown big brush pitt pens to outline. If you want to go for a more realistic look, you could skip this step, or outline with the actual flower color.


I used Faber-Castell Gelatos and Gel Sticks for my color. I love the control factor you get with these. You can make the color very intense (see red flower) or water it down like I did with the dogwood flowers. With these flowers, I wanted the book print to show through so I went with the more transparent look.


These flowers were done with a combination of Gelatos and Neocolors for more intense color.


I added my colors and then blended with a small damp brush. With the Gel type sticks, it's so easy to add or remove color. For very intense color, you can also add in some color with a blend able watercolor crayon like the Neocolor 2 (refer back to red flower picture).


I really wanted my centers to pop, so I used Elmer's neon acrylic paint markers in green and yellow. With the dark outline, the pop of color really adds dimension.


Last step is to cut your flowers out, and they are ready to use on a variety of projects. I'd love to see your results if you give this a try!


Great for accents! I've included links for the products I mentioned above-just click on the name and you can all the details.


If you want to see more of my art, visit my website at www.stacyspanglerart.com, or follow me under Sleepyhead Designs Studio on Facebook and Instagram. 

Sunday, June 16, 2013

Recycle your Magazines into Handmade Cards


I ran across a great post on Pintrest about how to recycle old magazines into hand-made paper. I won't repost the instructions because they are great in the original post-you can find them HERE.


I started off with seven magazines pages, a little gel medium and a roller. After the glue dried I added the stitching with my daughter's sewing machine (I don't sew). Then added a little gesso and my paper was done.


It turned out so awesome, I had to make something else out of it, so I decided a hand-made greeting card would be nice.


All the pieces I used were re-purposed.


I left the inside blank, but did add some color. Beats paying $5.99 for a card at the store-this one was basically FREE :)


Saturday, July 28, 2012

Recycled Workshop-Project 3


My inspiration for this project theme came from Oh Boy Fourth Grade, that of course, I found on Pinterest. I modified it to go with my recycled theme, so instead of using really cute scrap book papers like she did, we used old cereal boxes, and any other colorful boxes and containers we could find. 


We used some old colored corrugated cardboard for the sun and the cut up boxed for the rays.


Some of the students came up with other ideas for their collage. I love this name one!


The back is just old cardboard boxes cut to size and painted with some bright blue tempera.


If you didn't catch the other projects from my recycle workshop, you can click here and here to see them.


You also might like....