Showing posts with label decoupauge. Show all posts

Monday, May 14, 2012

Mother's Day Family Tree Collages


I held a collage class a couple weeks ago to create a special Mother's Day work of art. Each student brought 3-4 pieces of coordinating scrapbook paper, so the papers would be something their mother liked.


First they painted a 16 x 20 stretched canvas with an acrylic paint that complemented their papers. Then, using a rubber texture tool they created their background designs.


While the background was drying, students used templates to trace and cut their shapes. Tracing was done on the back of scrapbook paper to minimize tracing lines.


I had pre-printed the text boxes ahead of time-Bible verse and family names.


After cutting out the shapes, students arranged the pieces on the canvas before glueing. Mod Podge was used to glue down the paper, layer by layer, being careful to remove bubbles. A coat of Mod Podge was applied over the top of everything when finished. This process took 2 hours.


At our next session students painted accents (scalloped edges, etc.) and outlined everything with a Sharpie marker. This process took about an hour.


Isn't it amazing how the designs are all the same, yet they are each are so unique.  Girls wrapped these up before taking them home so they surprise their mom on Mother's Day. Special thanks to Things With Wings for being our artist inspiration.

Wednesday, September 8, 2010

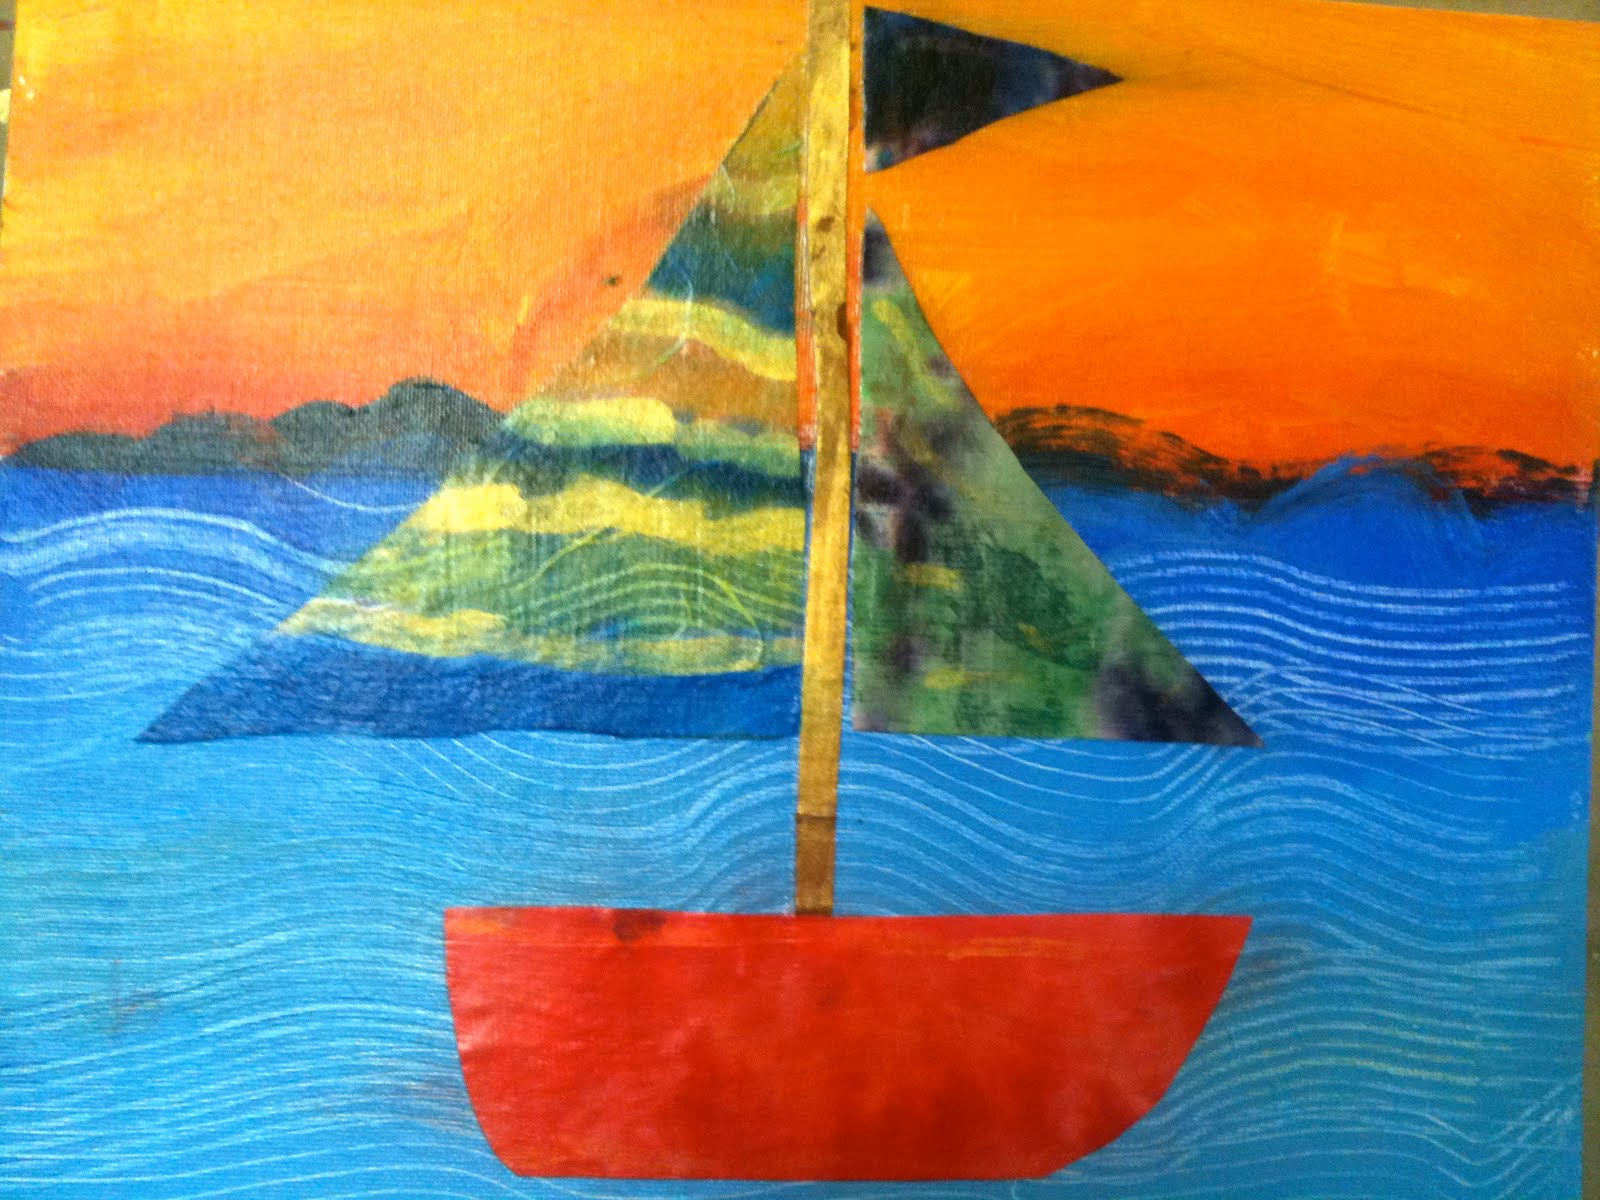
Sun setting on summer


With the cool, crisp air making a surprise visit every now and then, I thought this lesson was a great way to say farewell to summer. I was inspired for this lesson my one of my favorite art lesson girls over at Mary Making. Here's my adaptation to Mary's lesson, Sailboat Collage.


First one hour session: Students used a 9 x 12 canvas board and acrylic paint with texture tool for the background. Lesson objective possibilities are introduction to landscape/horizon line, warm and cool colors, color mixing and texture. I focused mostly on landscapes and warm vs. cool colors. While paint was drying we pulled out some paper in various textures; some handmade, regular, watercolor, etc. We used liquid watercolors to mix and experiment. I put out different sized watercolor brushes, fresh water and spray bottles with a water/rubbing alcohol mix. Students absolutely loved this process.


Second one hour session: Decoupage glue and gold metallic watercolor liquid paint for accents. Students used painted paper and pre-cut stencil shapes and traced their boat parts, added gold highlights, and then after a quick drying time in front of a fan, glued together the collages. Lesson objective possibilities are introduction to watercolor, papers and mediums, collage, fine motor skills. These beautiful masterpieces were all done by 8 year old boys!


Friday, October 23, 2009

Gallery of Decoupage Creatures


This project has been one of my favorites and they always turn out too cute. It's a great project to teach about shapes and patterns (just make sure students are good using scissors or you will end up doing a lot of cutting). I use the small poster boards and purchase the precut tissue squares in the scrapbook isle. We decoupage on the tissue first (one color scheme really works best) and let it dry. This usually takes a one hour class session. If they get done in time, we draw out our animal or insect and I discuss shapes. We work on breaking their animal down into it's basic shapes for body parts when trying to draw it. I have them make a pattern and cut it out. Then they trace their pattern onto their fabrics , cut it out and cover with Mod Podge onto the background. The last step is to stamp the name of the animal with paint. We used yarn and buttons for accents and glued them on last.

You also might like....