Showing posts with label color. Show all posts

Sunday, January 25, 2015

Color in Art Journaling


Here's my week three Documented Life Challenge on the Color Wheel and a quote by Georgia O'Keeffe. 


I decided to do a Mandala for my color wheel because I do this project with my students and I love the way the designs turn out. It was a challenge because creating a mandala is a very tedious task to me....Yes, I know they are supposed to be a relaxing exercise:)


I started with a spread covered with a layer of gesso and used a variety of different mediums to fill in the mandala shapes. I was a great learning process to see how each one reacted differently to the gesso. 


I wanted to leave room for some journaling, so I put the quote along the side border.


Not one of my favorite pages, but I'm glad to be caught up! I can say each challenge is pushing me a big outside of my comfort zone and helping me try some new styles.


Monday, November 17, 2014

Strike a Pose and Learn about Lines


Here's one of my first fifth grade lessons I taught this year. Keith Haring has a great kids website with some fun lesson suggestions, but my inspiration for this came from Cheryl Trowbridge over at Teach Kids Art. I've used the aluminum sheets before for art projects, and they always yield great results, but they are a little pricey when you have 75 kids. So instead, I used heavy duty aluminum foil and it worked just fine, and the kids thought this project was the "coolest thing ever"!. 


For this project, we were learning about the Elements of Art, and specifically focusing on lines. First, I asked for volunteers to come to the front and "strike a pose"- of course, there are always a handful of class clowns who love helping out here. On the white board, I showed the children how I would draw each pose in a stick figure form. Then I showed them how to use a contour line to draw an organic shape around the stick person.


 Next, I had the children get into small groups of two's and three's and "strike a pose" and draw three stick figures on a piece of scratch paper. Then, I instructed children to draw their stick figures larger onto a piece of paper and trace around them with the contour line. Then we traced the three figure design onto a piece of tracing paper.


I had prepared ahead of time, a piece of cut poster board covered with heavy duty aluminum foil. Each student taped their tracing paper over the top, and secured down to the desk. They traced over their tracing paper design with a pencil or sharpie pen lid and it leaves an imprint into the foil.


The last step is to color in with sharpie markers. It's hard to tell in these photos, but make sure the children leaven the silver imprint lines silver (or showing) to divide up the colors.


Sunday, June 15, 2014

Index Card A Day Challenge and summer


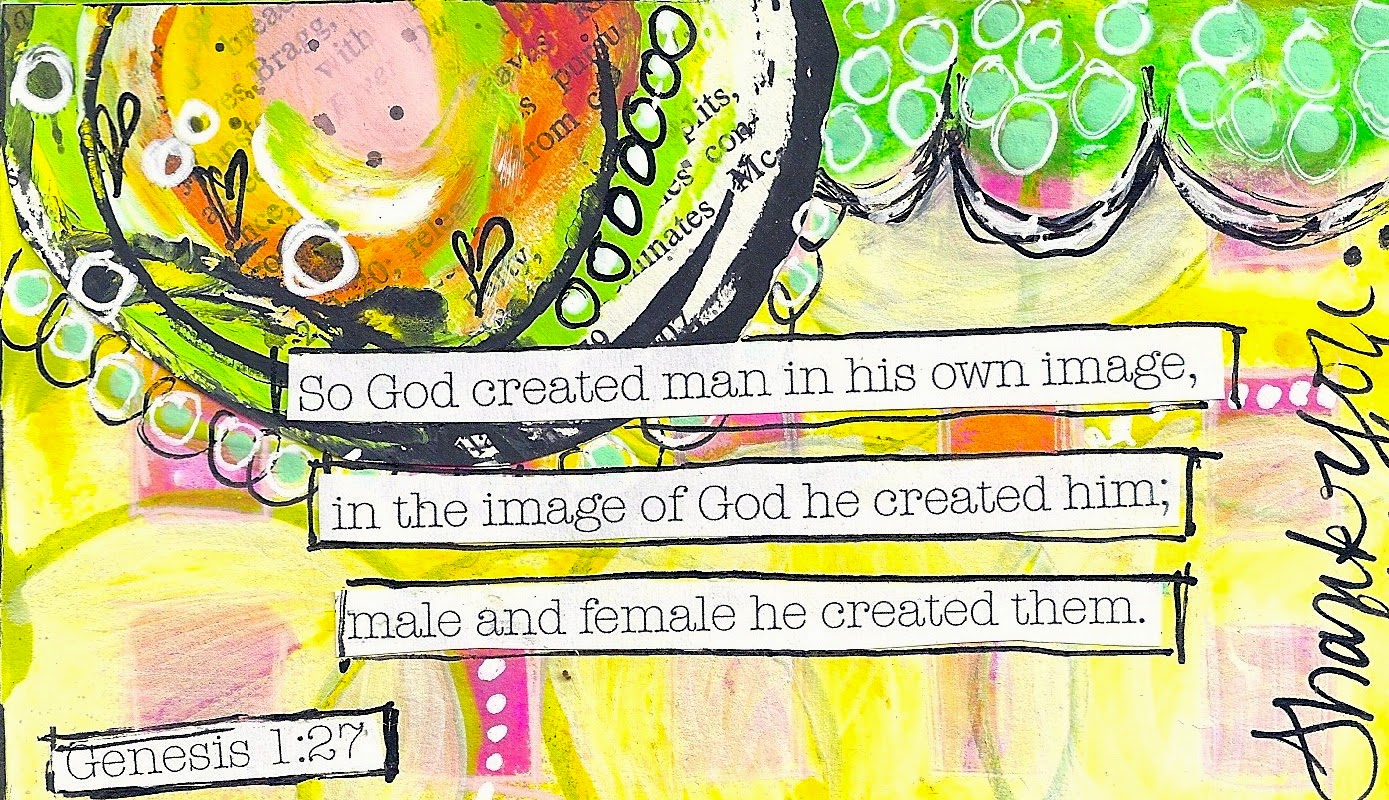
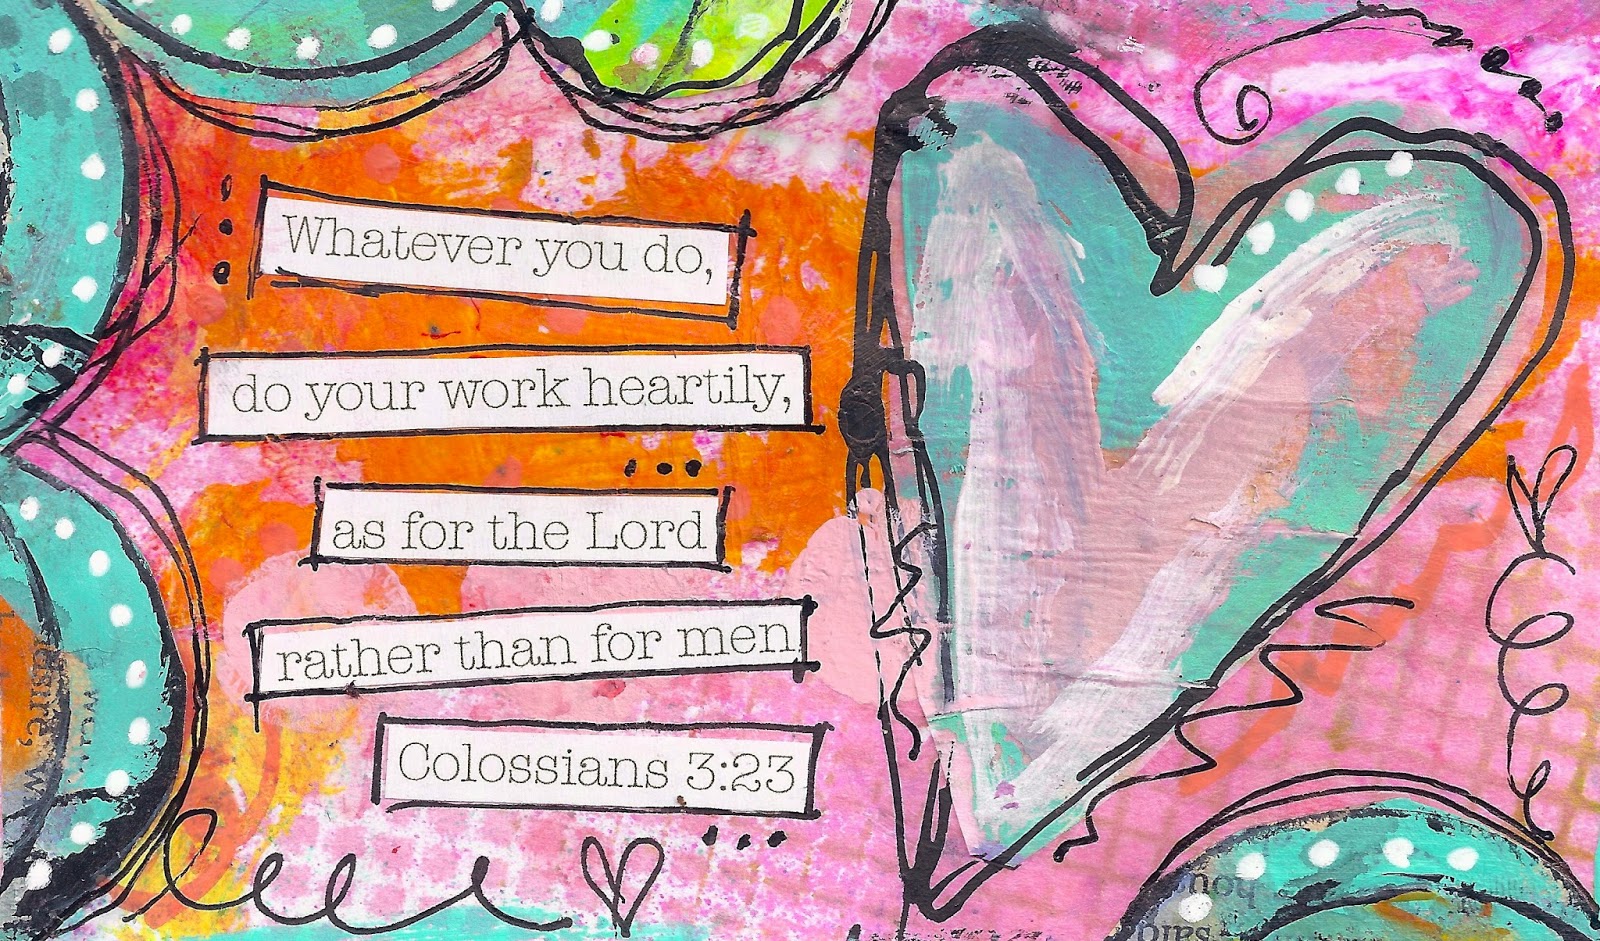
Ahhh, summer is finally here! I started June 1st with the Daisy Yellow ICAD (Index Card a Day) challenge, and it has really sparked my creativity! I even created these cards as the foundation for my Art Journaling Adventure workshop I taught this past week. They are all my favorite verses about creativity. 


I spent four days teaching a group of 5th-7th graders tons of fun techniques for art journaling. They left with their own mixed media art journals. I didn't realize how much I've missed teaching, and I'm so excited that I get to do it full time again this next school year as an art teacher!


These are all 3 x 5 index cards. Tammy has prompts each week that you can use if you want, but the challenge is to create a card a day for 60 days. My girls have even enjoyed the process! If you love creating, this is a fun and easy way to create every day-you can join in at anytime.


If you want to see more of the cards I've created, and the one's my girls have been creating, follow me on Facebook. Here's some highlights from my art journaling workshop…


Students learned about color...


Backgrounds, layering, stencils...


Journaling prompts and beautiful pages to fill...


Each student made their own stamp…


Collage and texture


Taking journals apart and putting them back together.


And celebrating that we are all created in the image of the greatest artist of all times!


Saturday, February 15, 2014

Art Journaling with Gelatos


I've been doing a lot of art journaling lately, so I've been trying to expand my horizons with some new products. I've had this set of Quartet Alphacolor Water Crayons for awhile now, but they are not my favorite. You have to wet your paper pretty good to get them to blend and get a nice water color effect. They are good for some things though, like outlining or shadowing.

I just discovered Faber-Castel's Gelatos and I've fallen in love! They are mess free, easy to use, and you can create a variety of effects. Plus, they are like drawing with a tube of lip stick-how much fun is that! I thought I'd take you through a journal page I've started using only Gelatos, Water Crayons and gesso.


For Valentine's Day we made these Pintrest inspired heart shaped crayons, and this color combo was my favorite. It was the inspiration for my journal page.


I started by drawing some random shapes with the Gelatos (pinks and reds) and Watercrayons (green and yellow)


I started blending the colors with a very wet brush with firm bristles. 


Next, I added some white gesso and blended more. This toned down the colors a bit, and gave it a more creamy texture.


I added some stencils prints with thin white gesso. I stenciled over the color blocks to soften the edges.


More drips, stamps and details...


Some shading...


Lettering with white gesso.


And shading on the letters.


I outlined my letters with a thin black sharpie marker. I'm still looking for a good liner pen if anyone has any suggestions.

I'm not done yet, but this was my stopping point. The best part is, I did this all at my kitchen table with very little mess to clean up. The Gelato sticks are so convenient! I purchased the red Gelatos set at Michaels. I went back today and purchased the blue set. Unfortunately, at my Michaels, they don't have a big selection of these. I have a feeling I will be find a place online where I can order a set with more colors.

I will be posting more journal pages in the upcoming weeks.

Monday, July 23, 2012

Placemat Lesson for Pre-Kinders


Here's a fun little lesson for pre kindergarteners. It's great for teaching shapes (rectangle, circles, triangles), primary colors, and patterns. We started out by printing a pattern on our rectangle placemat with our first primary color, RED. We used foam rollers and tempera paint on white posterboard.
We used rollers like these-to order click here.


These circles were pre-cut, but you could trace and cut depending on the time you have and age level of students. Next, students painted their plates with our second primary color, BLUE, with a big chunky brush.


I love the ready-made tempera paint-click here for info.

After they were painted, we had fun with a little finger painting, and drew a pattern in the wet paint on the plate.


They each drew their own triangles and cut them out. Next step was introducing our third primary color, YELLOW.


Sponge stamping our pepperoni.


We practiced drawing our silverware before we painted it on.


Lastly, we glued everything together with some Elmer's glue. This project took about 1 hour from start to finish (class of 8).


These would also be cute stamped with a name or a cute phrase, and then laminated so they could really be used as a placemat.


You also might like....